Windows10でのQiskitのインストールと使い方
AnacondaとJupyter notebookのインストール
https://www.anaconda.com/download/ と
http://jupyter.org/ をインストールしておく。
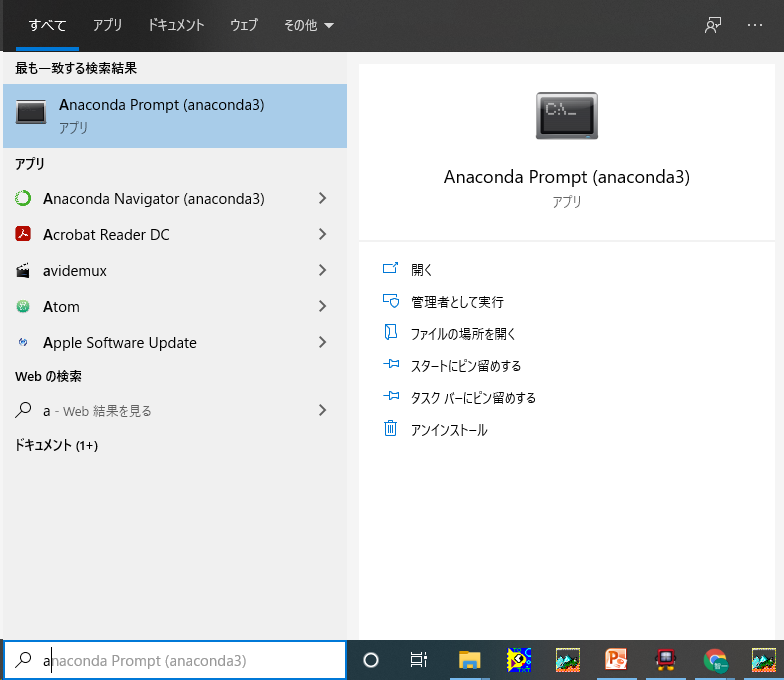
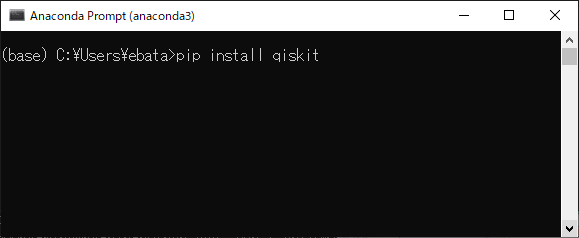
Anaconda Prompt(anaconda3)を起動
>pip install qiskitでライブラリをインストールする
>conda listで qiskitがインストールされているかを確認できる。
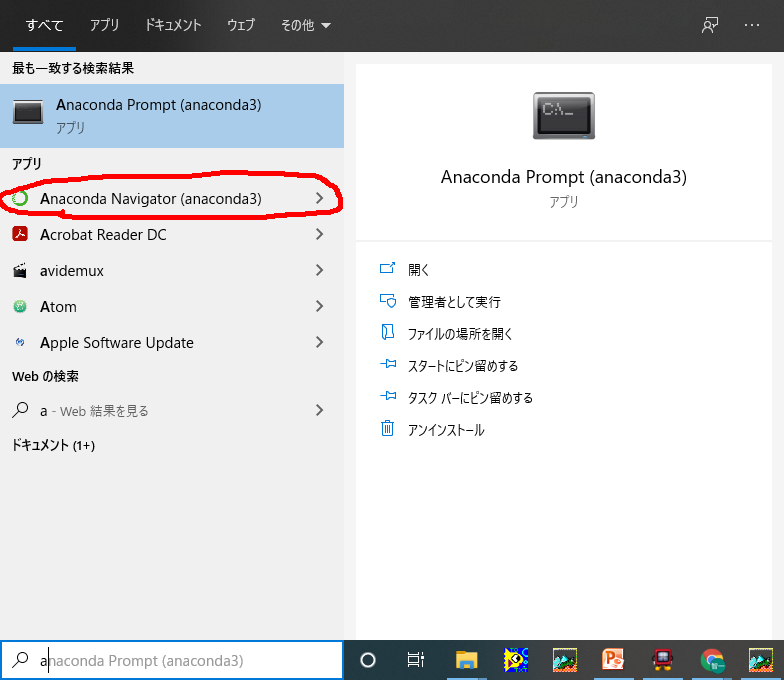
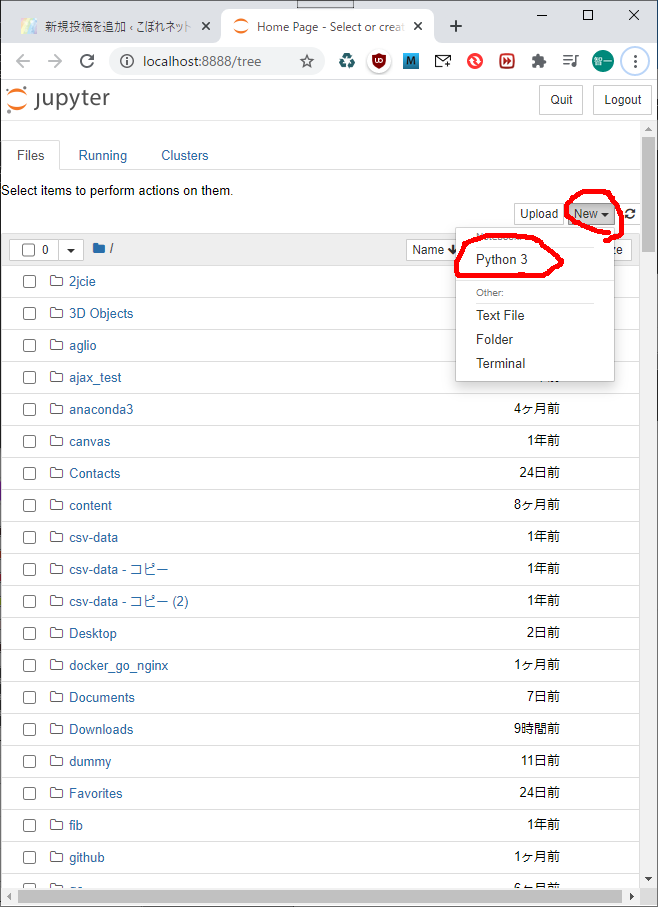
つぎにAnaconda Nabigation(anaconda3)を起動する
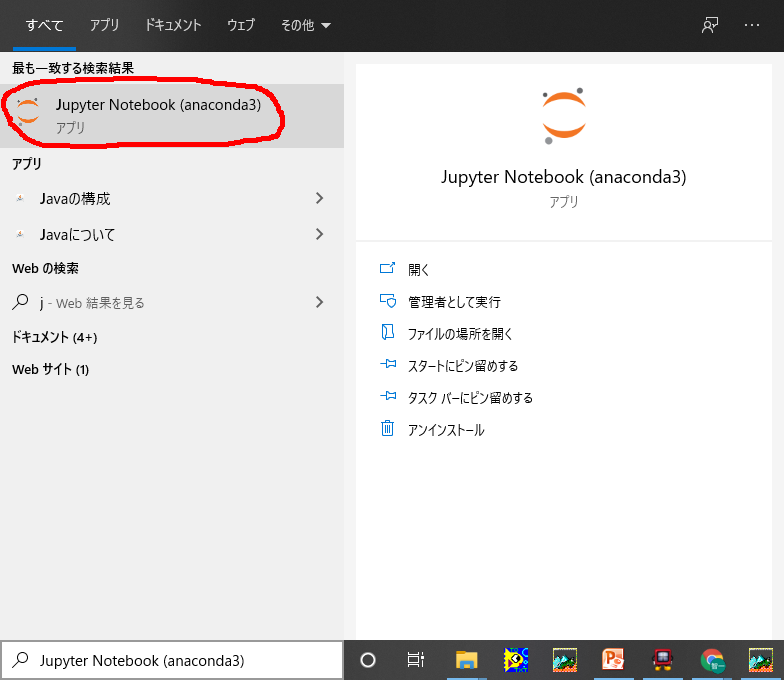
Juypyter Notebook(anaconda3)
python3の入力環境を立ち上げる
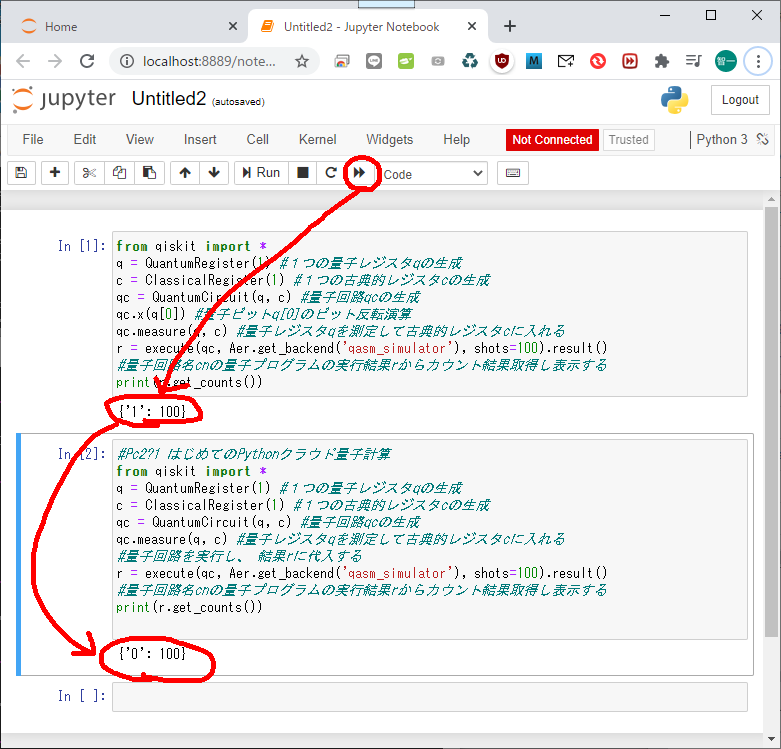
で、こんな感じで入力する。
取り敢えず、ここまで(直ぐに忘れるのでメモ)