トラッキングのcsvデータをgnuplotで表示してみる
以下のtest.csvファイルを、gunplotで3D表示させたくて、色々やっています。
test.csv
#lat,lng,datetime,distance,speed
35.681100,139.758600,2023-05-22 02:10:30,313.307785,37.596934
35.683300,139.759900,2023-05-22 02:11:00,271.347933,32.561752
35.685300,139.760900,2023-05-22 02:11:30,240.030143,28.803617
35.685400,139.761000,2023-05-22 02:12:00,14.325264,1.719032
35.685400,139.761000,2023-05-22 02:12:30,0.000000,0.000000
35.685400,139.761100,2023-05-22 02:13:00,9.031610,1.083793
35.685200,139.763500,2023-05-22 02:13:30,217.896760,26.147611
35.684700,139.765700,2023-05-22 02:14:00,206.328362,24.759403
35.684200,139.768000,2023-05-22 02:14:30,215.040983,25.804918
35.685400,139.768400,2023-05-22 02:15:00,138.238013,16.588562
で、まあ、こんなgpファイルを使って試していましたが、上手く動きませんでした。
# Function to parse datetime string into a numerical value
strptime_datetime(x) = strptime('%Y-%m-%d %H:%M:%S', x)

# Set the output terminal to a 3D plot (you can change the output format if needed)
set terminal pngcairo enhanced size 800,600

# Set the data file separator to a comma
set datafile separator ','

# Set the axis labels
set xlabel 'Longitude (lng)'
set ylabel 'Latitude (lat)'
set zlabel 'Date and Time (datetime)'

# Set the view to a 3D perspective
set view 50,30,1,1


# Get the minimum and maximum datetime values from the data
stats 'test.csv' using (strptime_datetime(stringcolumn(3))) nooutput
min_datetime = STATS_min
max_datetime = STATS_max

# Set the range for the Z axis (datetime)
set zrange [min_datetime:max_datetime]

# Plot the data using the specified columns
#splot 'test.csv' using 2:1:(timecolumn(stringcolumn(3))) with points pointtype 7 pointsize 1 title 'Data Points'
#splot 'test.csv' using 2:1:(timecolumn(stringcolumn(3))) with points pointtype 7 pointsize 1 title 'Data Points'
#splot 'test.csv' using 2:1:(timecolumn(stringcolumn(3))):(0) with points pointtype 7 pointsize 1 title 'Data Points'

splot 'test.csv' using 2:1:(timecolumn(stringcolumn(3)))
時間のパース(strptime_datetime(x) = strptime('%Y-%m-%d %H:%M:%S', x))がやっぱり上手く動きませんでした。
でまあ、しょうがないので、"2023-05-22 02:10:30"を秒数に変換するプログラムを作成しました。
/* "2023-05-22 02:10:30"を秒数に変換するプログラムを作成しました
   c:\Users\ebata\gnuplot\convert_datetime.go
*/
package main

import (
	"encoding/csv"
	"fmt"
	"os"
	"time"
)

func main() {
	// 入力ファイル名と出力ファイル名を指定
	inputFileName := "test.csv"
	outputFileName := "formatted_test.csv"

	// 入力ファイルを開く
	inputFile, err := os.Open(inputFileName)
	if err != nil {
		fmt.Println("ファイルを開けませんでした:", err)
		return
	}
	defer inputFile.Close()

	// 出力ファイルを作成または上書き
	outputFile, err := os.Create(outputFileName)
	if err != nil {
		fmt.Println("ファイルを作成できませんでした:", err)
		return
	}
	defer outputFile.Close()

	// CSVリーダーとライターを作成
	reader := csv.NewReader(inputFile)
	writer := csv.NewWriter(outputFile)

	// ヘッダーを読み込み、書き込み
	header, err := reader.Read()
	if err != nil {
		fmt.Println("ヘッダーを読み込めませんでした:", err)
		return
	}
	writer.Write(header)

	// データを読み込んで秒数に変換して書き込み
	for {
		record, err := reader.Read()
		if err != nil {
			break
		}

		// datetime列をパースして秒数に変換
		datetime := record[2] // datetime列のインデックスを確認してください
		parsedTime, err := time.Parse("2006-01-02 15:04:05", datetime)
		if err != nil {
			fmt.Println("日時をパースできませんでした:", err)
			return
		}
		seconds := parsedTime.Unix()

		// 秒数に変換した値を新しい列として書き込み
		record = append(record, fmt.Sprintf("%d", seconds))
		writer.Write(record)
	}

	// ライターをフラッシュしてクローズ
	writer.Flush()

	if err := writer.Error(); err != nil {
		fmt.Println("書き込みエラー:", err)
		return
	}

	fmt.Println("変換が完了しました。出力ファイル:", outputFileName)
}
で、こんなのができました。
formatted_test.csv
#lat,lng,datetime,distance,speed
35.681100,139.758600,2023-05-22 02:10:30,313.307785,37.596934,1684721430
35.683300,139.759900,2023-05-22 02:11:00,271.347933,32.561752,1684721460
35.685300,139.760900,2023-05-22 02:11:30,240.030143,28.803617,1684721490
35.685400,139.761000,2023-05-22 02:12:00,14.325264,1.719032,1684721520
35.685400,139.761000,2023-05-22 02:12:30,0.000000,0.000000,1684721550
35.685400,139.761100,2023-05-22 02:13:00,9.031610,1.083793,1684721580
35.685200,139.763500,2023-05-22 02:13:30,217.896760,26.147611,1684721610
35.684700,139.765700,2023-05-22 02:14:00,206.328362,24.759403,1684721640
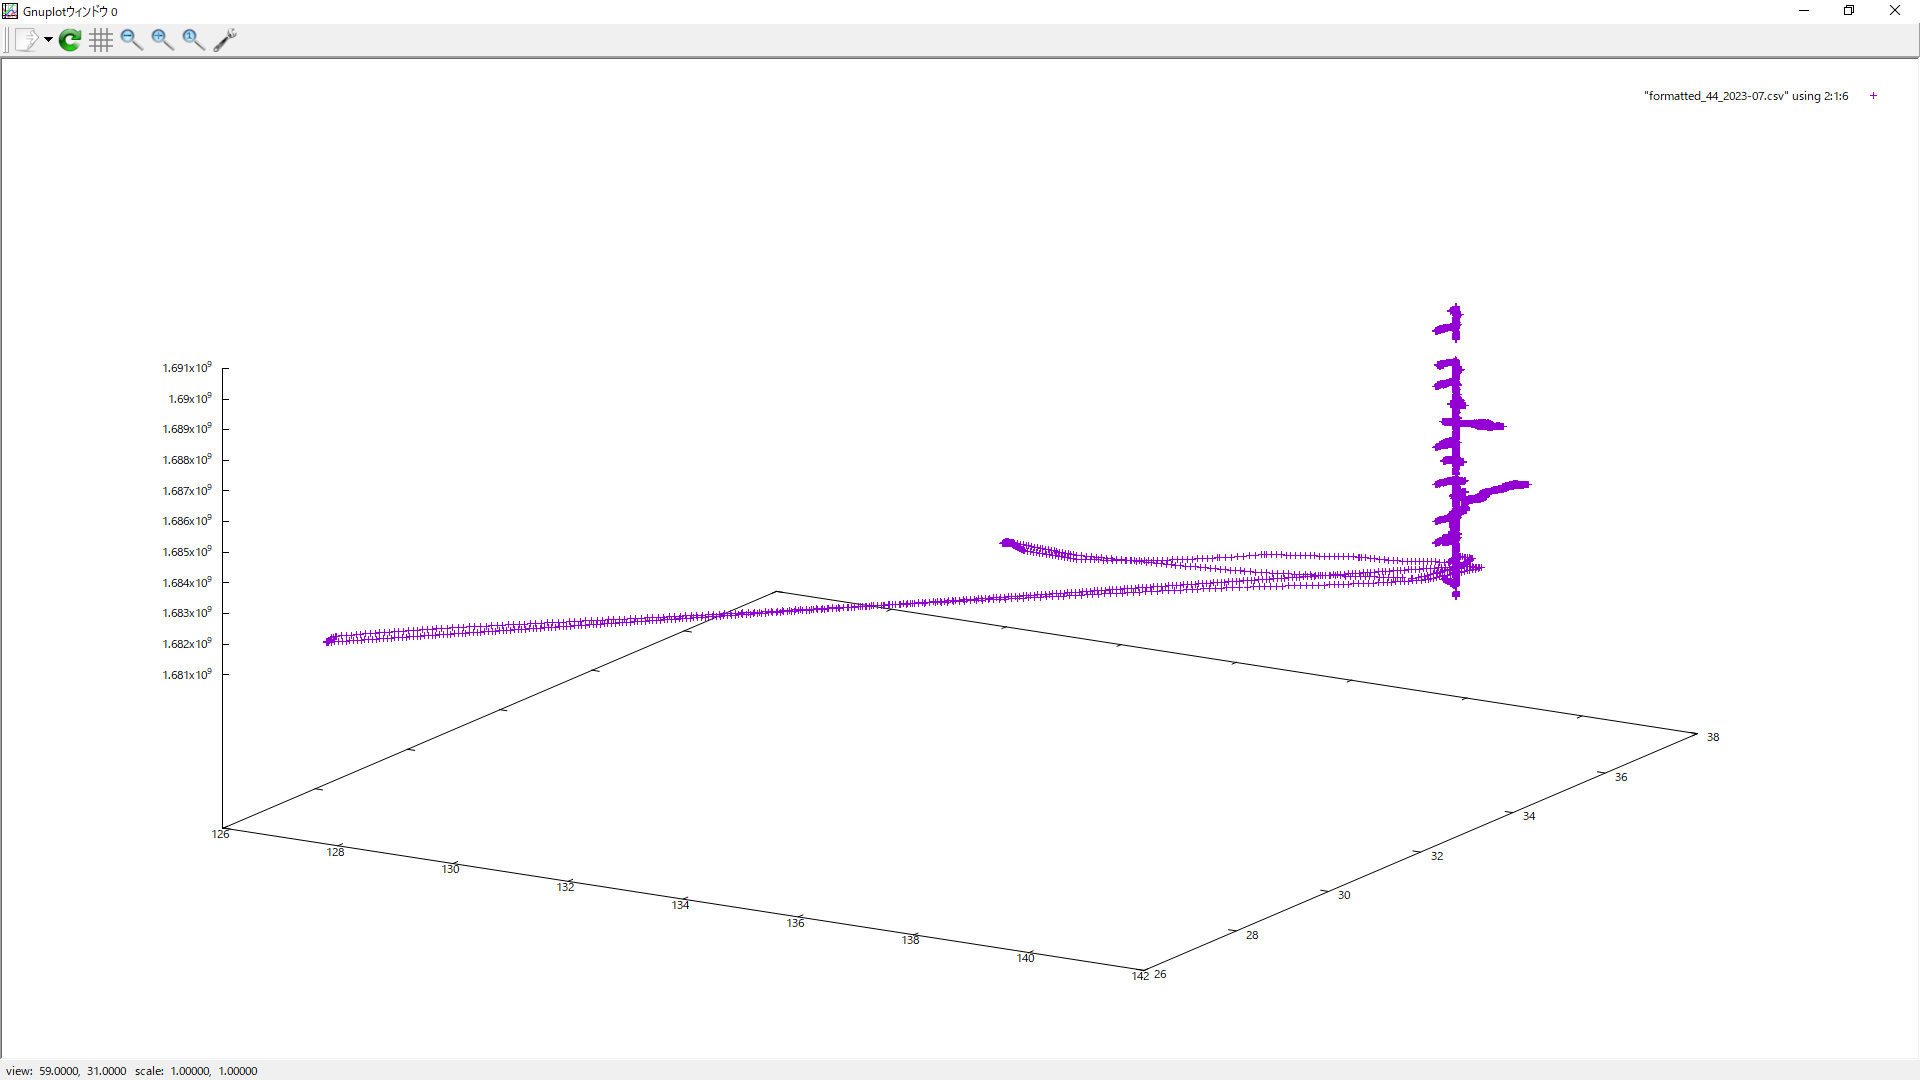
スクリプトではなく、コマンドで一つづつ入れていきました。
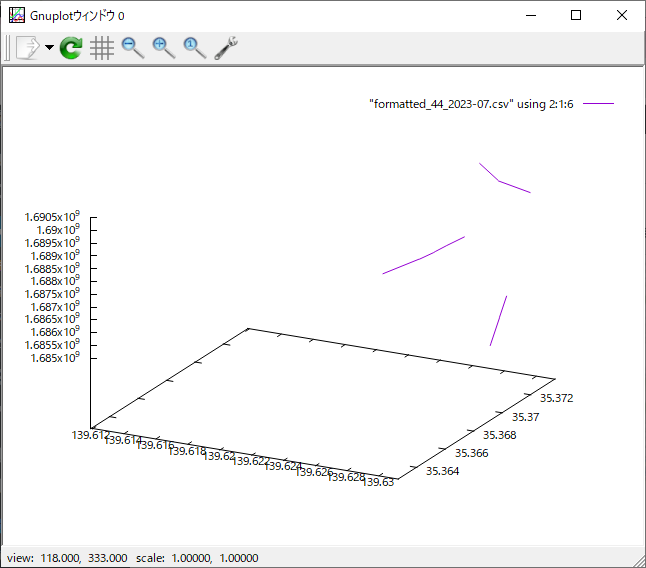
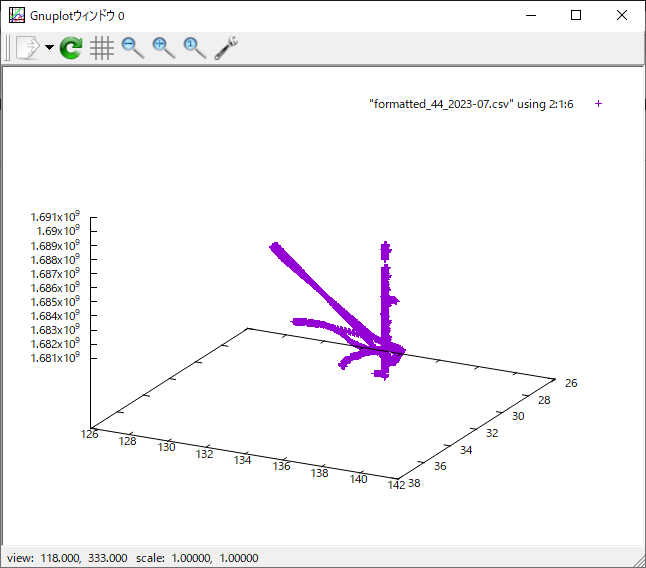
gnuplot> set datafile separator ',' ← これ凄く重要
gnuplot> splot "formatted_test.csv" using 2:1:6
の結果は以下の通りでした。

エリア限定
# x軸の範囲を指定
set xrange [139.6119000:139.6312000]
# y軸の範囲を指定
set yrange [35.3627000:35.3737000] ←これだと、地図のイメージと逆転するので
set yrange [35.3737000:35.3627000] ← y軸の範囲を逆転させる
上記のxrangeとyrangeの範囲を地図で示すと、
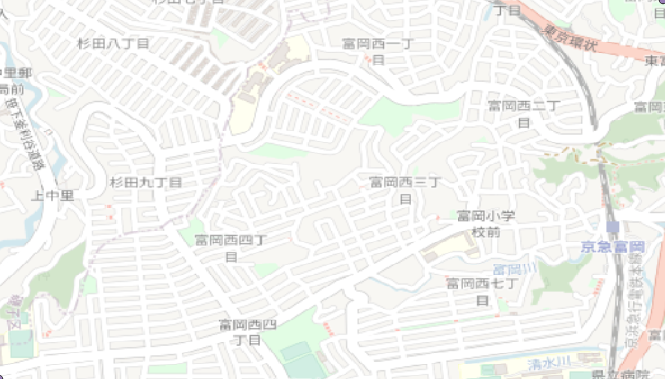
の範囲となる。
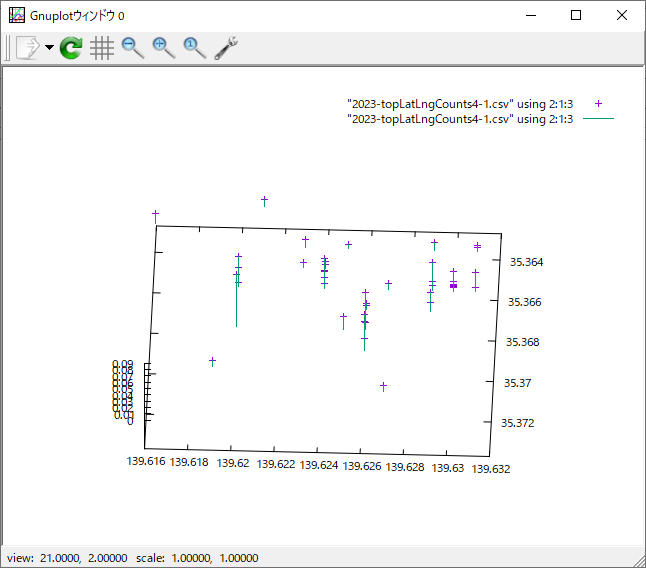
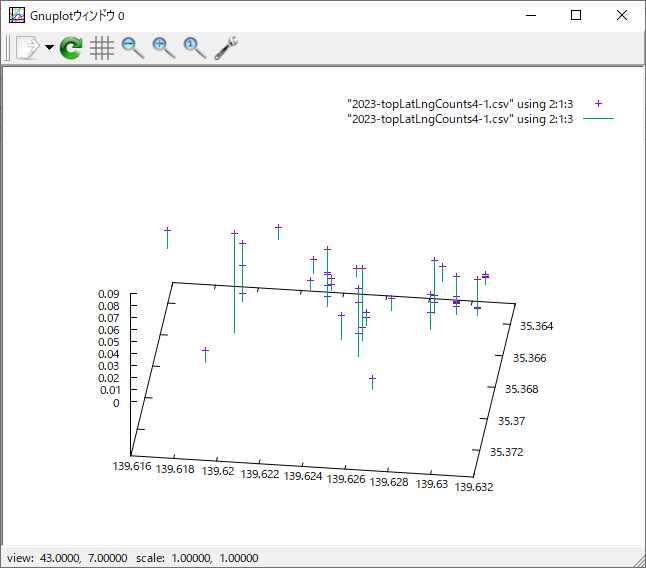
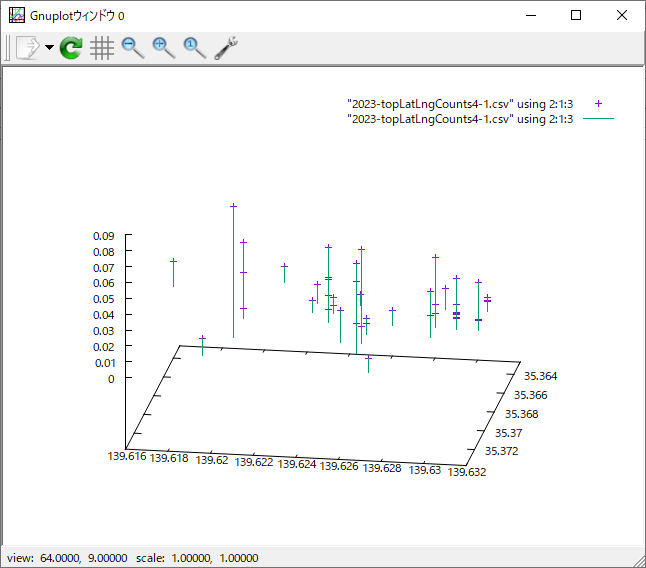
領域の範囲内でのトラッキングデータの様子
gnuplotでx軸とy軸の範囲を指定解除するには、以下のコマンドを使用する。
gnuplot> set xrange [*:*]
gnuplot> set yrange [*:*]
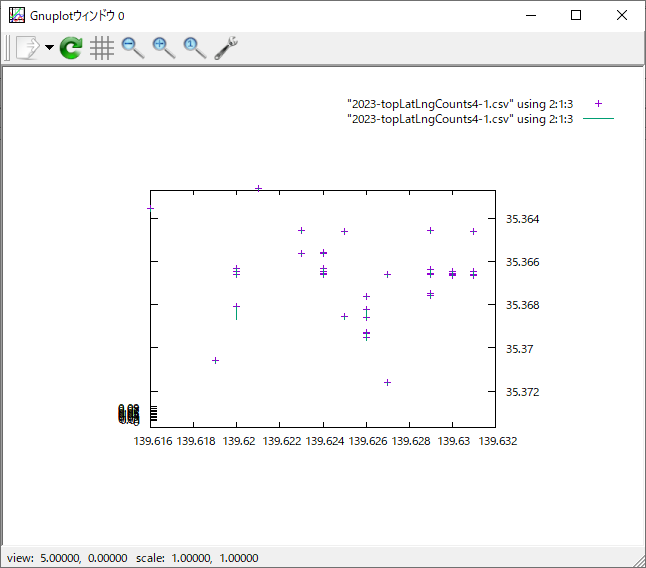
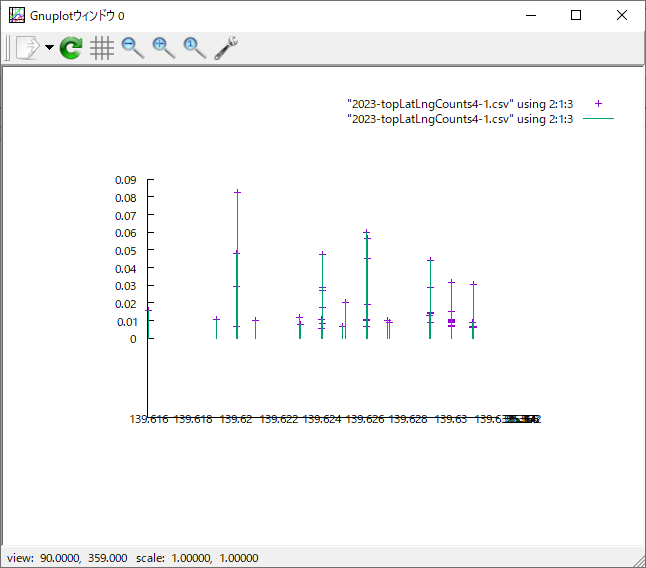
gnuplot> splot "2023-topLatLngCounts4-1.csv" using 2:1:3
gnuplot> set yrange [35.3737000:35.3627000] ← 軸の大小を引っくり返す
gnuplot> splot "2023-topLatLngCounts4-1.csv" using 2:1:3 ← 点を表示
gnuplot> replot "2023-topLatLngCounts4-1.csv" using 2:1:3 with impulses ← 縦軸表示
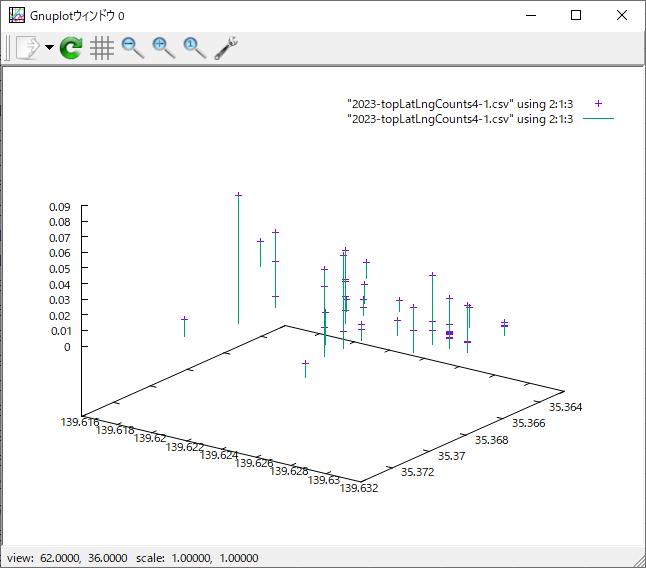
ちなみに、文字列が入っているcsvだと表示されないことが多いようだ。